
Your first tour
Tap + New Tour, give it a name, tap Create. Then add stops down the page. That is a tour.
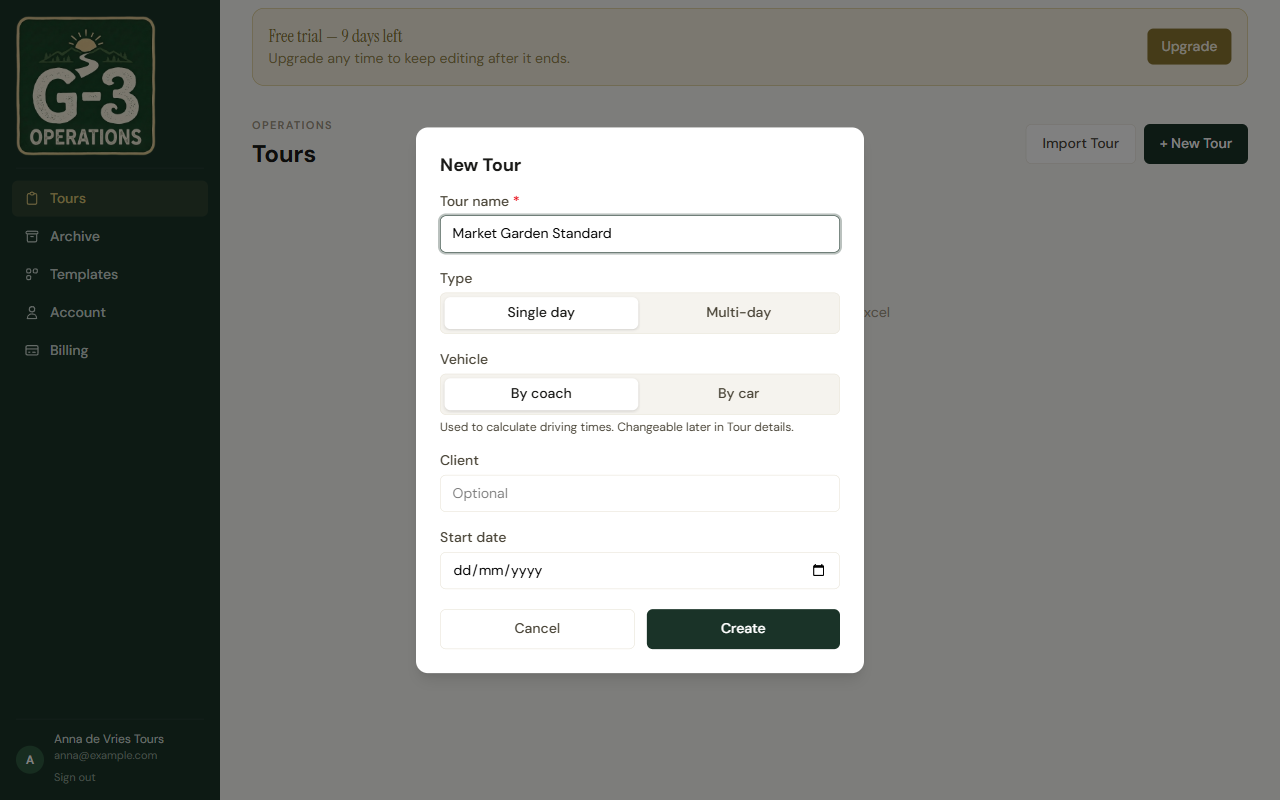
The New Tour dialog
Section titled “The New Tour dialog”- Tour name. Required. Something like Market Garden Standard.
- Single day or Multi-day.
- By coach or By car. Used to calculate driving times. Changeable later in Tour details.
- Client. Optional.
- Start date. Optional. Leave it empty and the tour is a template; see Templates and the archive.
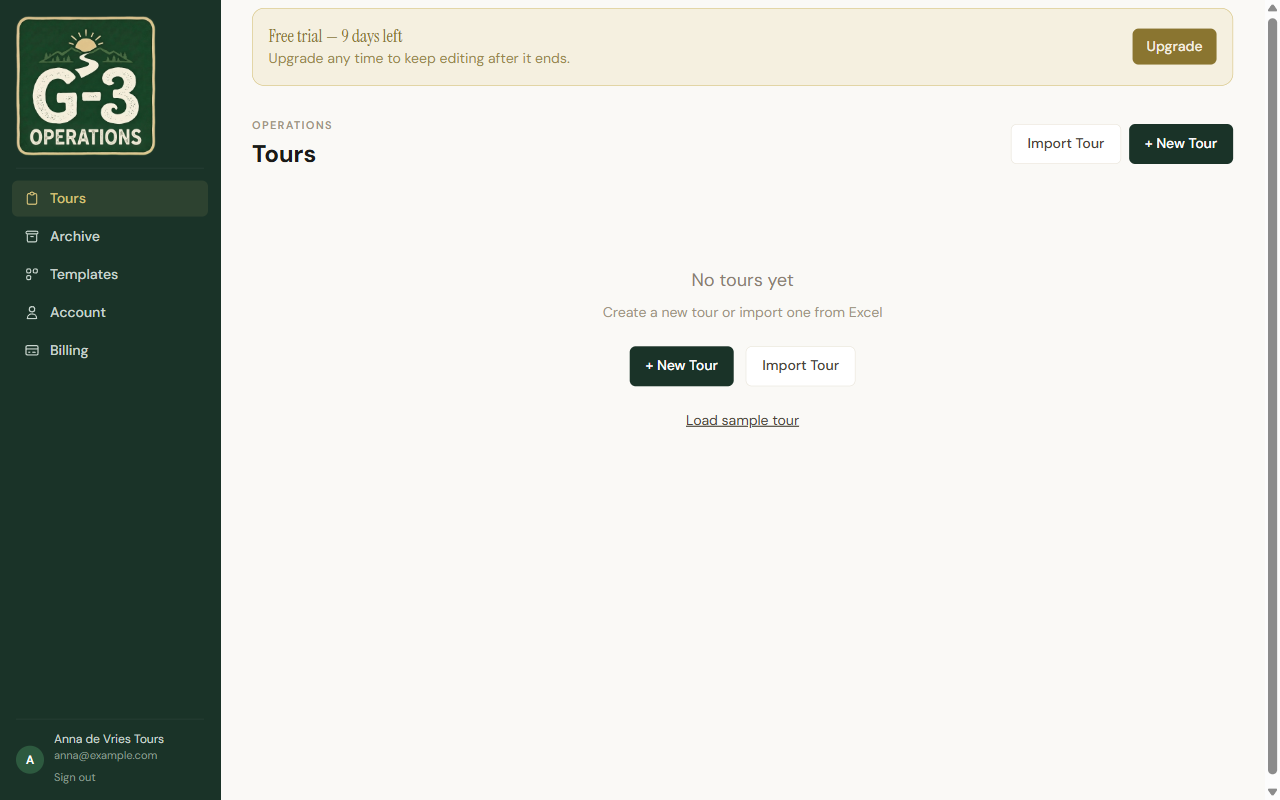
Or tap Load sample tour on the empty home screen and take a working day apart.
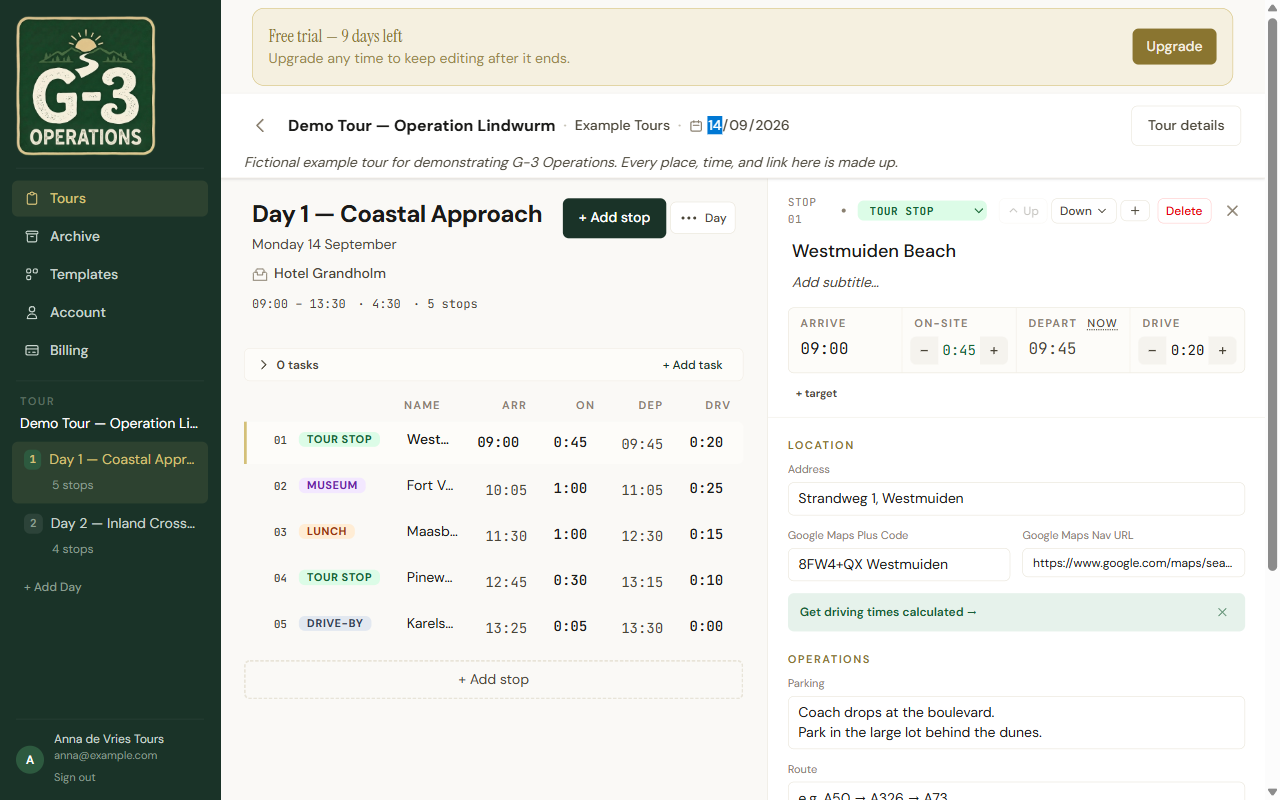
Adding stops
Section titled “Adding stops”+ Add stop puts a stop at the end of the day. Open a stop and you get its fields: name, a subtitle, a label, the times, address, Google Maps Plus Code, Google Maps Nav URL, parking, route, driver actions and guide notes.
The label is a coloured badge: Tour stop, Comfort break, Fuel, Lunch, Hotel, Depart, Drive-by, Dropoff, Pickup, Museum. A label is a name and a colour; it changes nothing about the times. You can add your own labels under Settings.
On a desktop, drag stops to reorder. On a phone use Move up and Move down.
Notes are marked internal only and never reach a driver. Parking, route and the address do.
+ Add Day under the day list adds a day. The Day menu next to the day title moves a day up or down, duplicates it, copies it into another tour, deletes it, and calculates driving times. Deleting a day asks you to type the day’s title first, because it takes the stops with it.
Duplicate day puts an exact copy right after the original, stops, tasks and driver actions included, and lands you on the copy. Copy day to another tour… does the same into any of your other tours or templates. Both are covered in Templates and the archive.
Set the tour’s date with Set date in the tour header. The day tabs then show real dates.
- How the times work explains what you type and what is computed.
- Sharing with drivers gets the day onto a driver’s phone.